After allowing for the necessary clearance, there was just enough room for this cabinet. It looks tidy and uses the remaining space well.
We prepped and painted the exposed unfinished surfaces, then let them cure as directed before installation. We also protected the plumbing openings from moisture. I can find the dish soap now without digging around.
We played with the shelf placement and hinge settings after installation. Everything is where we want it now, and the kitchen feels more organized.
Took some shimming to get this narrow base level on our old floor. Once that was done, the door looked even and the cabinet was exactly what we wanted.
We used this upper to complete the cabinet row near the doorway. After checking the door swing, it fits the space without getting in the way of the trim.
We had the pieces organized and the cabinet assembled before the countertop crew arrived. It made that stage of the project go a lot more smoothly.
The kids have a collection of lunch containers that somehow multiplies. This upper keeps them out of the way until school mornings.
We looked at a more complicated storage layout and ended up choosing a basic two-door cabinet. Easy access and enough space were what we actually needed.
The 42-inch upper goes beside our range hood and keeps the cabinet line continuous. We spent extra time on the spacing so the whole setup looks balanced.
We use the higher shelf for special-occasion pieces and the lower one for everyday bowls. The arrangement works better, and the deeper finish gives that corner a little definition.
We positioned the cabinet once, realized the plumbing clearance needed a little more room, and corrected it. It has been a solid choice for our sink wall.
This probably sounds funny, but what I was most excited about in our remodel was finally having somewhere to store the roasting pan. It had been shoved on top of the refrigerator for years because our old lower cabinets were awkwardly divided. We measured the available run, sketched how the countertop would sit, and chose this two-door base. Assembly took a weekend, with plenty of snacks and a playlist that was probably too loud. The doors needed a little adjustment. Now the roasting pan, mixing bowls, and serving dishes are behind those doors, and the counters are easier to keep clear.
We wanted to see the grain instead of covering it up. Used a clear water-based protective finish on the exposed wood, and the natural color came out beautifully. The 24-inch base is just right for our mixing bowls and baking supplies.
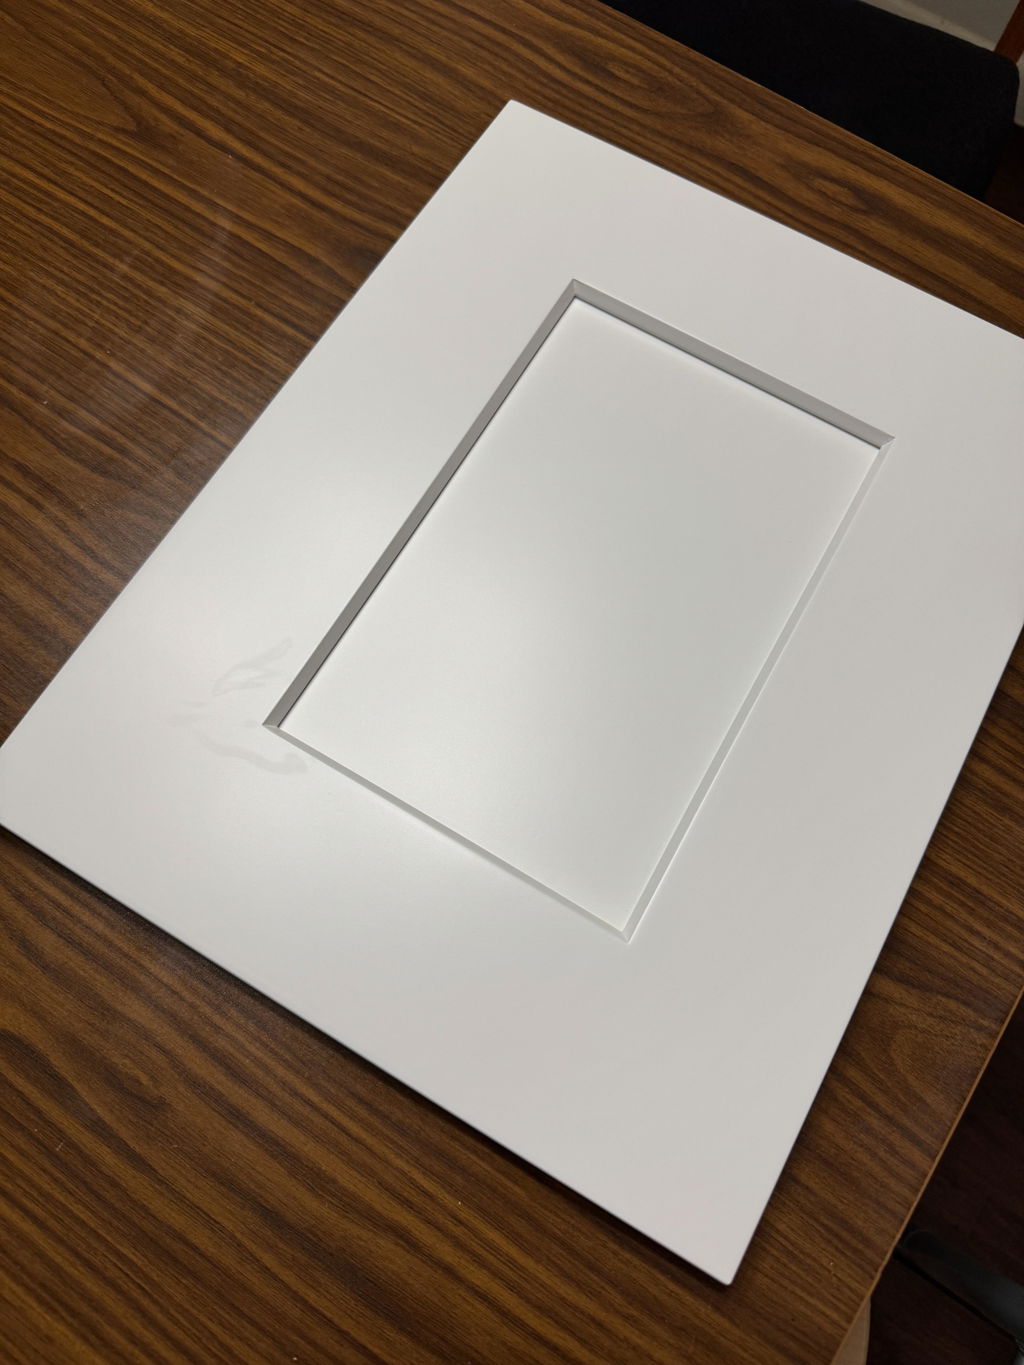
Our dining table turned into a tiny design studio for a week. We lined up tile chips, a flooring sample, cabinet handles, and this door sample. My partner looked at them in the morning; I checked them after work with the kitchen lights on. The finish looked different at those times of day. We also wanted to see the Shaker frame from a normal viewing distance instead of relying on a close-up product photo. We haven't installed the kitchen yet, but we finally agree on a direction.
Putting a narrow cabinet on each side of the sink base worked out really well for our layout. Everything looks balanced now, and we have a convenient spot for cleaning supplies and the little things that used to sit on the counter.
Finally replaced the cabinet under our kitchen sink. The 36-inch size gave our plumber the space he needed, and we took care to seal the exposed wood around the plumbing openings. Everything fits properly, and that area is much easier to organize now.
I moved the sample from the counter to the window and back again over a couple of days. It was much easier to judge the finish that way than from photos on my laptop.
We put everyday utensils in the top drawer, dish towels in the next one, and larger things in the cupboard below. Planning that layout paid off.
On this taller upper, the top shelf takes the serving dishes we only use for gatherings; our cereal bowls stay below. That separation has helped keep the everyday shelves uncluttered.
Our kitchen is not perfectly square, so we planned the cabinet run carefully. This width made the layout possible. A narrow cabinet was a better use of the space than leaving a gap.
The gap was tighter at the back than at the front. Once we allowed for that, the door lined up nicely with the neighboring base.
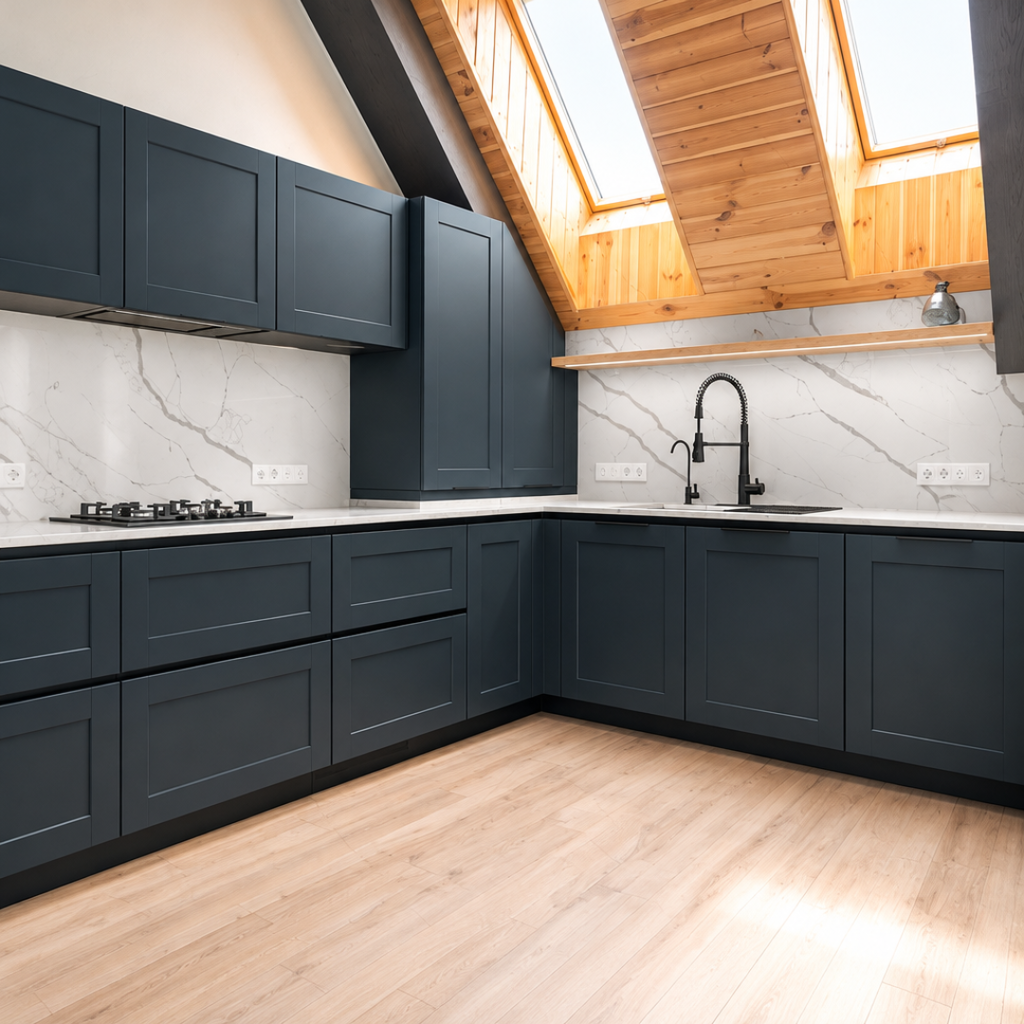
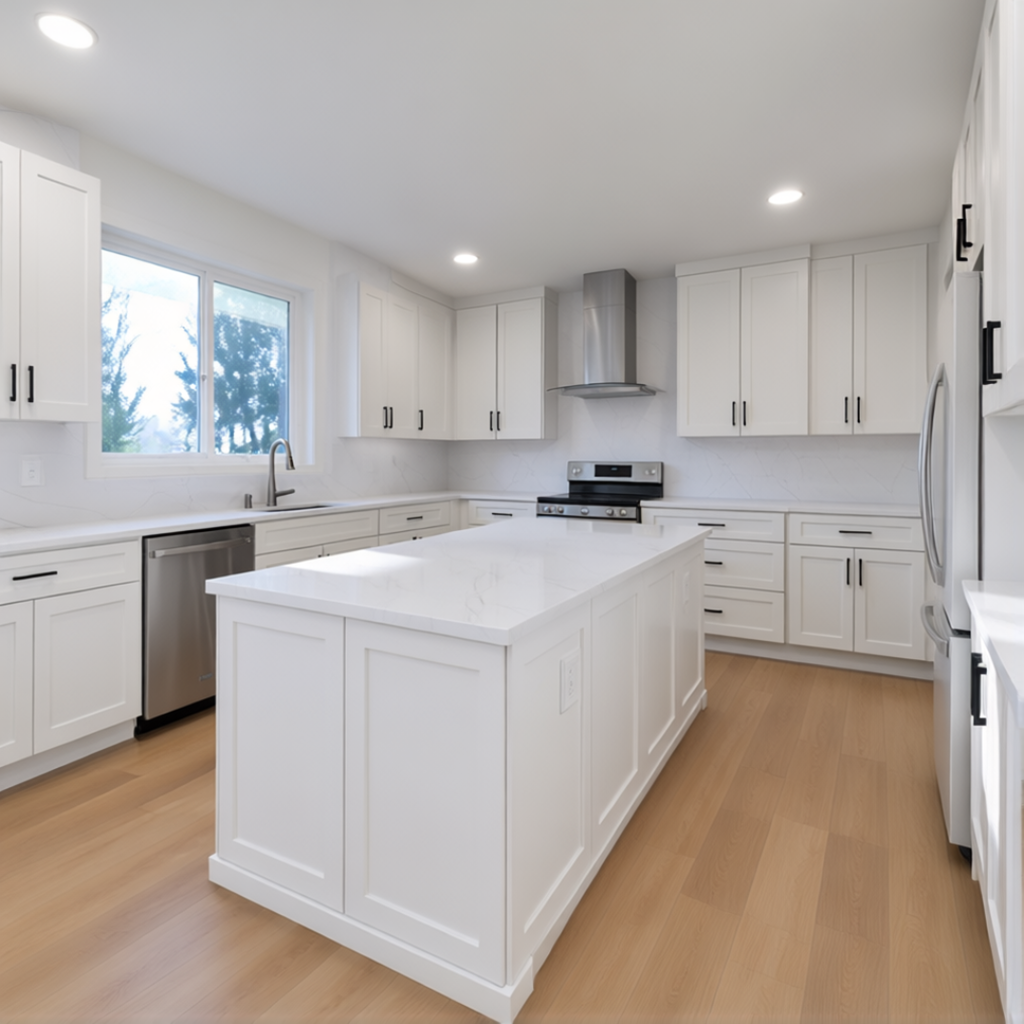
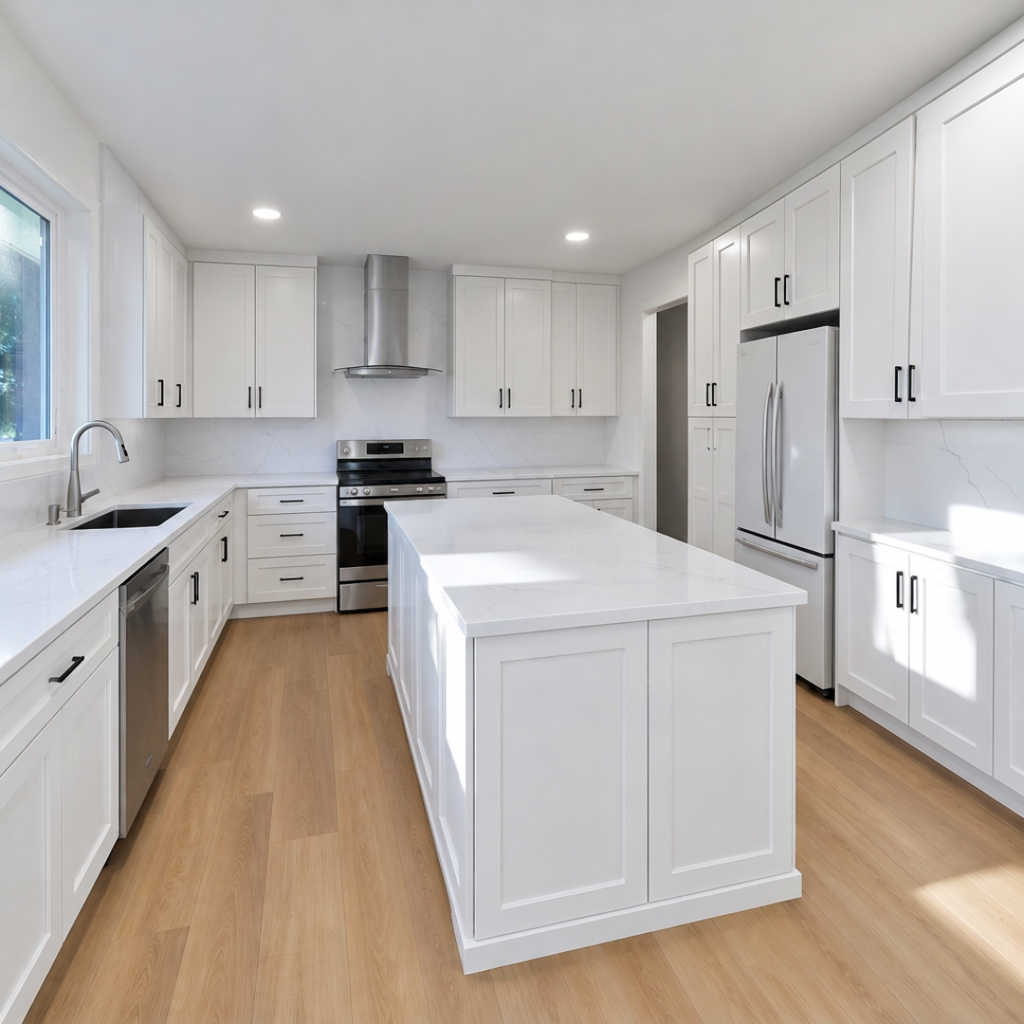
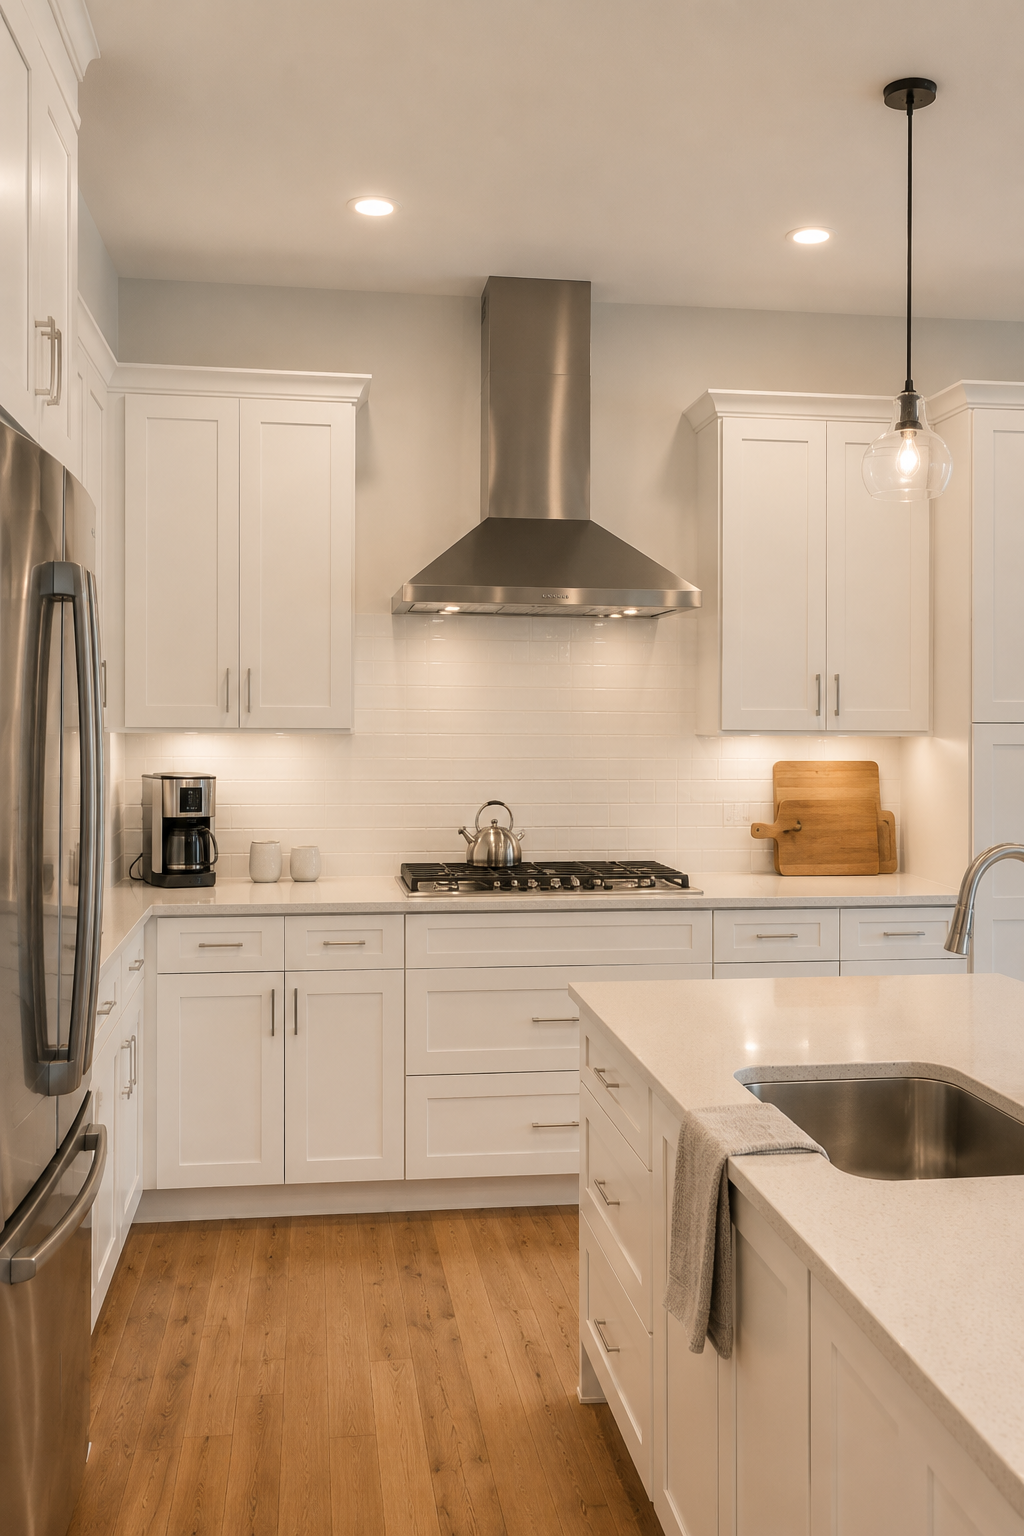
We picked Glacier White Shaker after ordering a door sample. Seeing the finish in person helped a lot. The cabinets look clean and well made, and the doors have a nice, solid feel when you open them. We're really pleased with the finished kitchen.
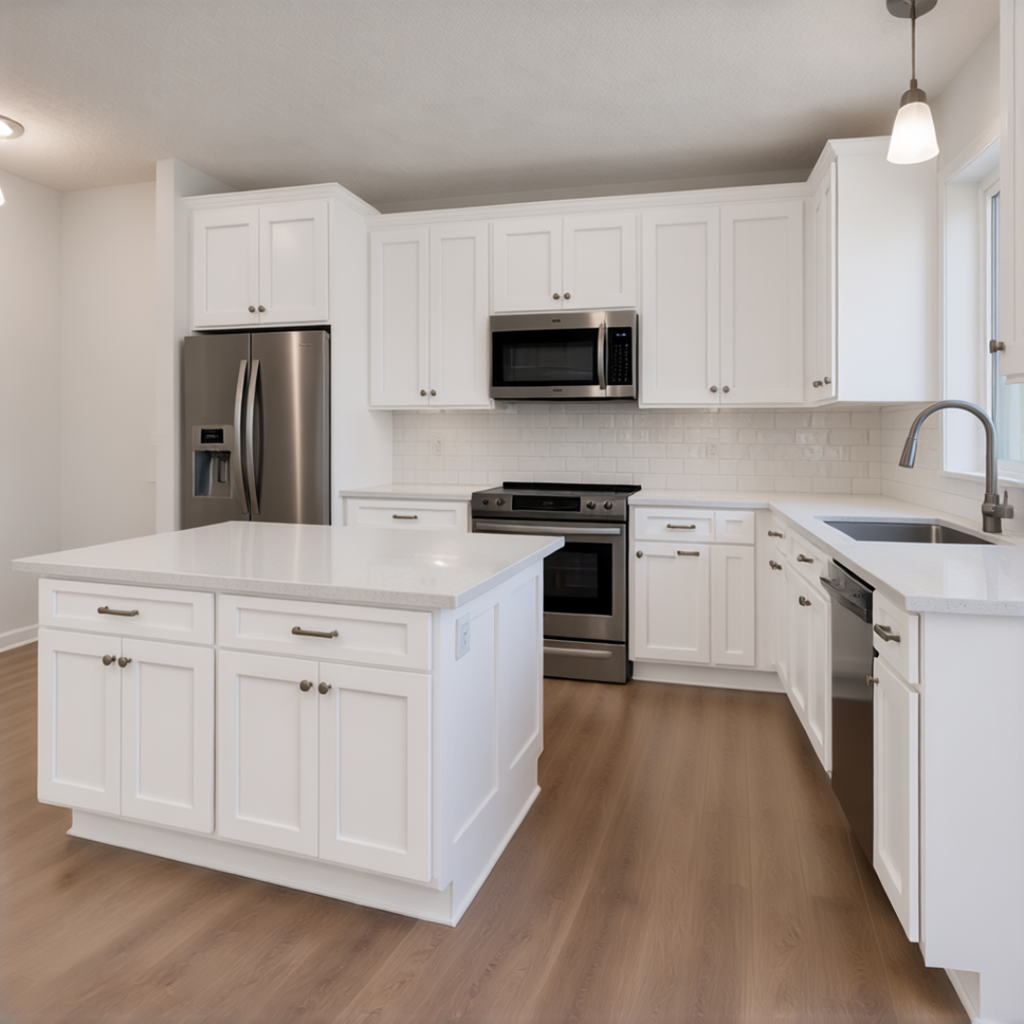
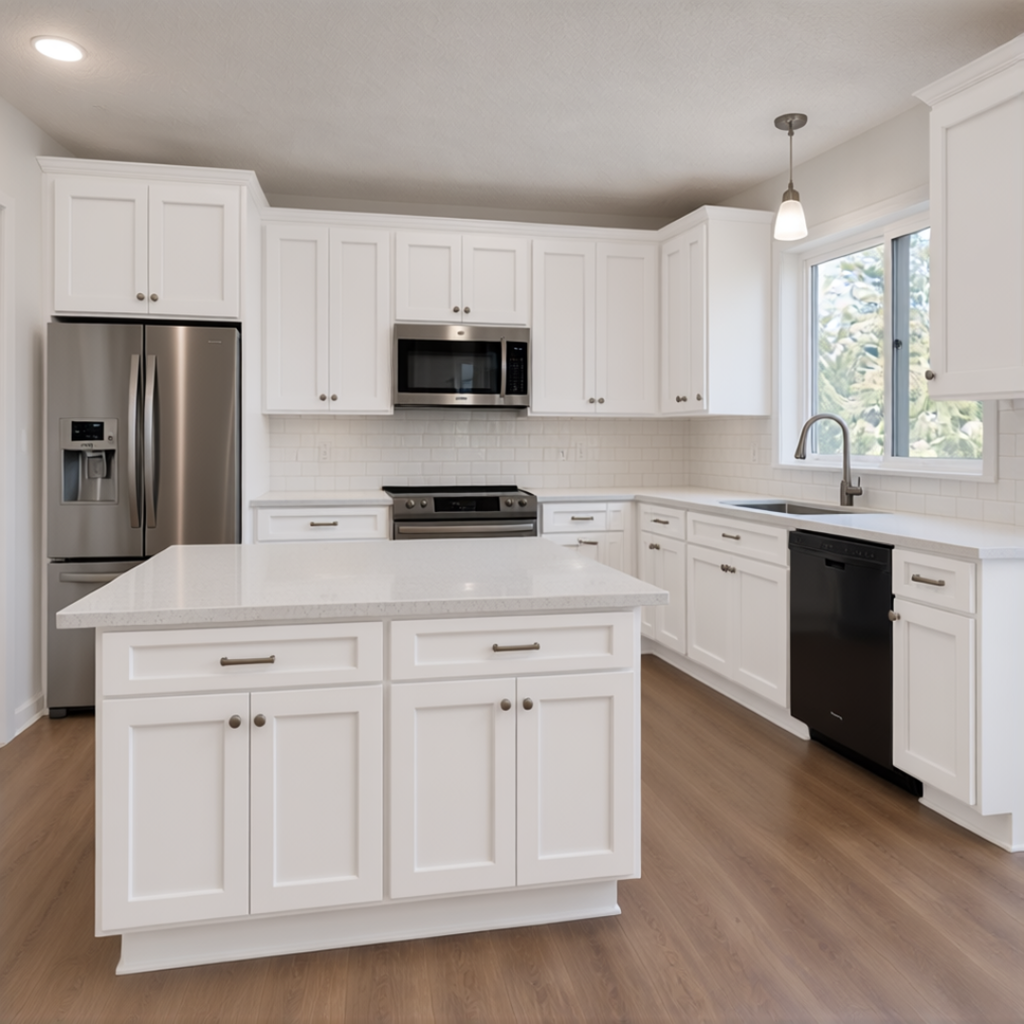
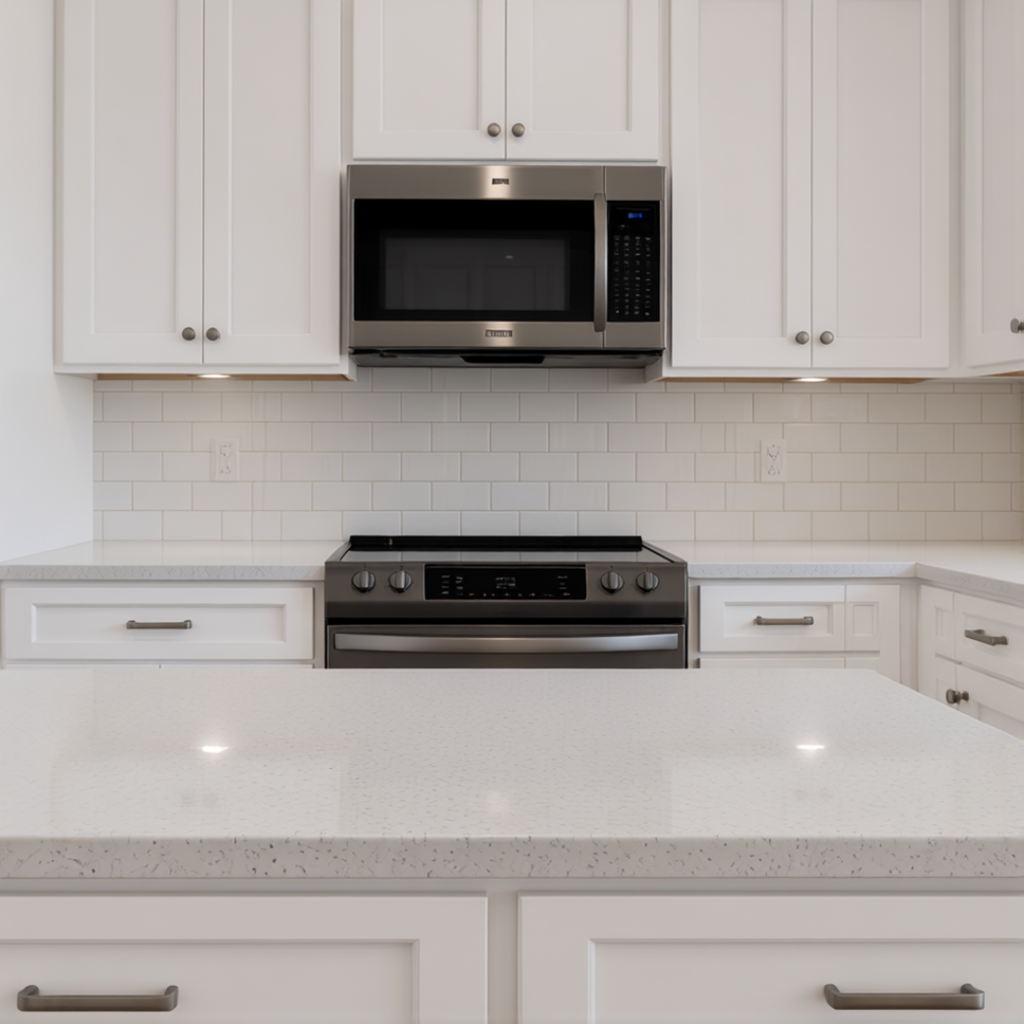
We started this project with graph paper, a measuring tape, and absolutely no idea how much time we'd spend planning six cabinets. Olivia was great at helping us sort out the placement, especially the wall cabinets and the smaller one above the refrigerator. She made a couple of suggestions that we wouldn't have thought of on our own. Once the order arrived, my husband and I spread everything out in the garage and labeled the pieces before assembling anything. That made the whole process much easier. The panels fit together nicely, and the doors only needed a little adjustment once everything was installed. Wendy also answered a question we had about the hardware. We still need to finish a few things around the kitchen, but the cabinets are in and they look wonderful. I can finally put the measuring tape away!
Good little cabinet. Just what I needed.